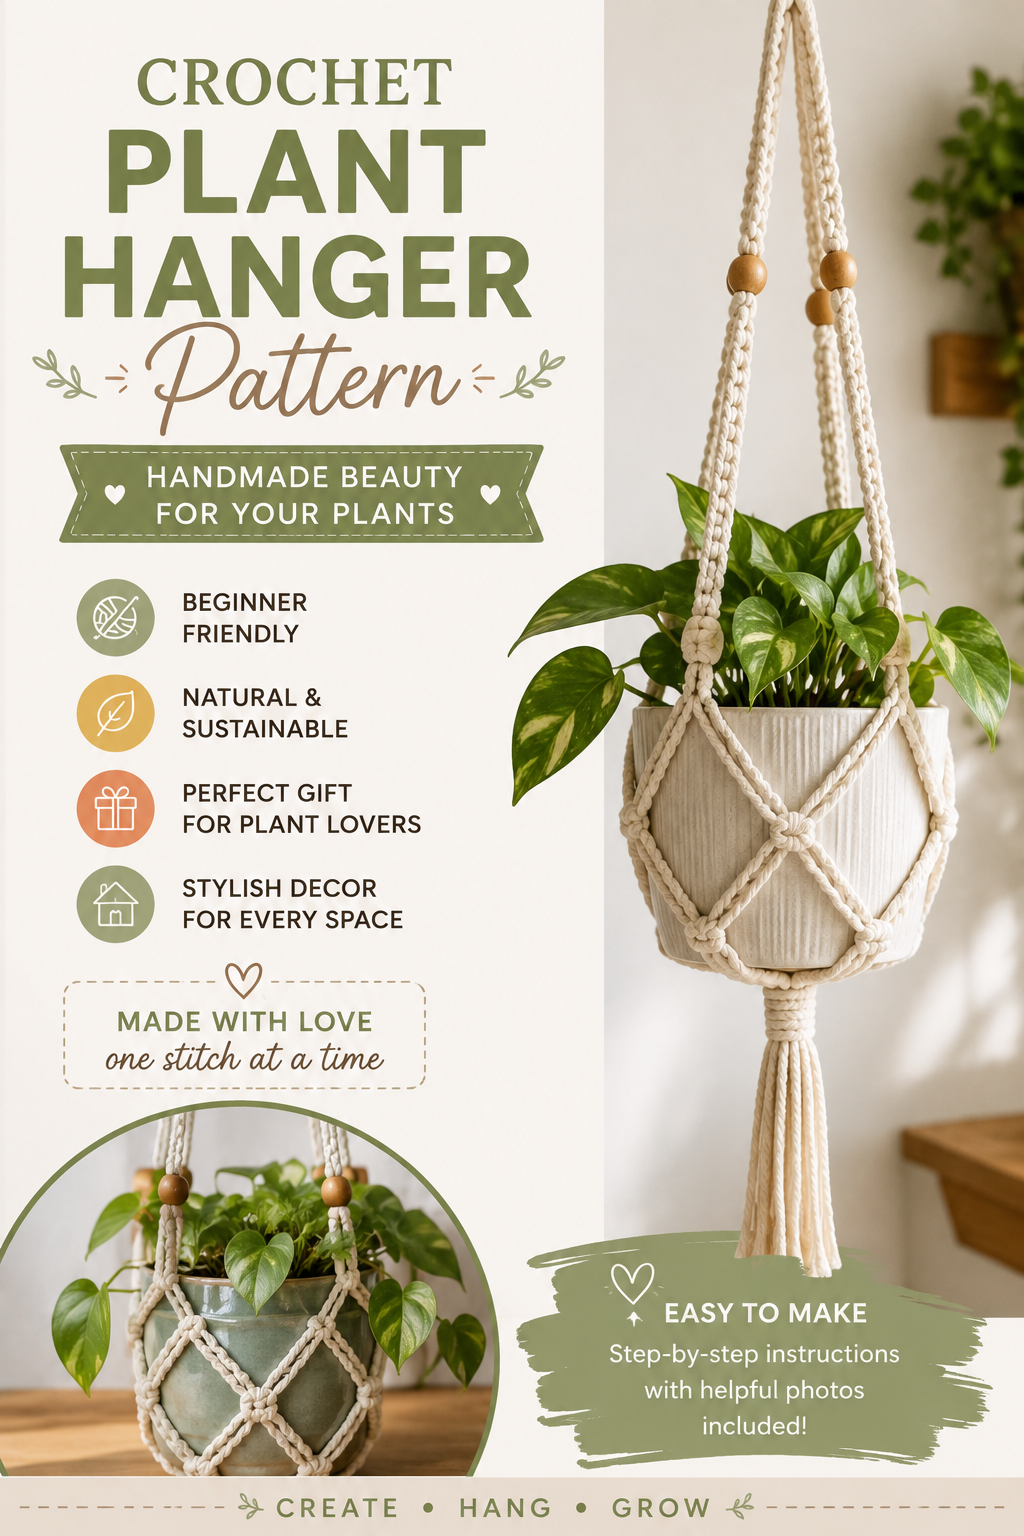
Hanging a plant off the ground changes how a room feels almost immediately. It adds height, softens hard corners, and frees up surface space you didn’t realize was cluttered.
This crochet plant hanger pattern is a simple net-style design that works for most small to medium pots. It’s a fast project, uses minimal yarn, and gives you a genuinely sturdy way to display a plant without buying macrame hardware.
Why This DIY Works
A hanging plant occupies visual space differently than a potted one on a shelf. It draws the eye upward, which makes low-ceilinged rooms feel taller and busy rooms feel less crowded at eye level.
Crochet, specifically, gives a plant hanger a softer look than macrame. The tighter stitch structure reads as tidy and modern, while still keeping that handmade, textured quality that macrame is known for.
It’s also one of the most practical crochet projects you can make. A well-made hanger holds real weight — a pot, soil, and a mature plant — so unlike purely decorative crochet pieces, this one earns its place immediately.
Designer Note: Hang plant holders at slightly different heights rather than lining them up evenly. Two hangers at matching heights look like a display. Staggered by a few inches, they look like they grew into the space naturally.
Materials & Tools
| Item | Purpose | Notes |
|---|---|---|
| Cotton cord or worsted cotton yarn | Main hanger material | Cotton resists stretching under weight better than acrylic |
| 5mm crochet hook | Standard hook for this weight | Size up slightly if using thicker cord |
| Tapestry needle | Weaving in ends | — |
| Sturdy metal ring or wooden hoop (optional) | Top anchor point | Makes hanging on a hook cleaner and more even |
| Measuring tape | Sizing to your pot | — |
| Scissors | Trimming yarn | — |
Quick Win: Test your finished hanger with an empty pot filled with a few pounds of rice or dried beans before adding your actual plant. This confirms it holds weight evenly before soil ends up on your floor.
Key Stitches You’ll Need
This is a beginner-to-intermediate pattern. If you’ve made a few basic projects already, you’re ready for this one.
- Chain stitch (ch) — the long hanging straps
- Slip stitch (sl st) — joining rounds
- Single crochet (sc) — the base and body of the holder
- Double crochet (dc), optional — used in the open lattice variation for a more boho, airy look
Step-by-Step Pattern
This pattern is sized for a standard pot roughly 4 to 5 inches in diameter. Adjust stitch counts proportionally for larger pots.
Part 1: The Base
- Chain 4 and join with a slip stitch to form a ring.
- Round 1: Chain 1, work 8 single crochet into the ring, join. (8 stitches)
- Round 2: Chain 1, work 2 single crochet in each stitch around, join. (16 stitches)
- Round 3: Chain 1, single crochet in the next stitch, 2 single crochet in the following stitch — repeat around, join. (24 stitches)
- Continue increasing every round in this pattern until the base measures about 1 inch wider than the bottom of your pot.
Part 2: The Sides
- Once the base is the right size, stop increasing. Work single crochet in each stitch around, without adding extra stitches, for 4 to 6 rounds.
- This creates the straight-sided “cup” that the pot will sit inside. Check the fit periodically — the sides should hug the pot snugly without stretching too tight to remove it.
Part 3: The Hanging Straps
- At the top edge, evenly space out four points around the circle — these become your four hanging straps.
- At each point, join yarn and chain a length long enough to reach where you want the top ring or gathering point (30 to 40 inches is typical, but measure your intended hanging spot first).
- Repeat at each of the four points.
Part 4: Gathering the Straps
- Gather all four chain ends together.
- If using a metal ring or wooden hoop, loop all four strap ends through it and secure with a few tight stitches or a firm knot.
- If skipping the ring, simply knot all four strap ends together directly, leaving a small loop above the knot to hang from a hook.
Finishing
Weave in any remaining loose ends. Test the hanger empty first, then add your pot.
Budget vs. Luxury Materials
| Budget Version | Luxury Version | |
|---|---|---|
| Yarn/Cord | Basic worsted cotton | Chunky macrame cord or cotton rope blend |
| Top ring | Skip it — knot straps directly | Brass or wooden ring for a polished finish |
| Add-ons | None | Wooden beads threaded onto the straps |
| Approx. cost per hanger | Under $5 | $12–20 |
The base pattern is identical either way — the upgrade is entirely in cord thickness and the finishing hardware, which is why this project scales easily from a quick weekday make to a gift-worthy piece.
How to Style It in Your Home
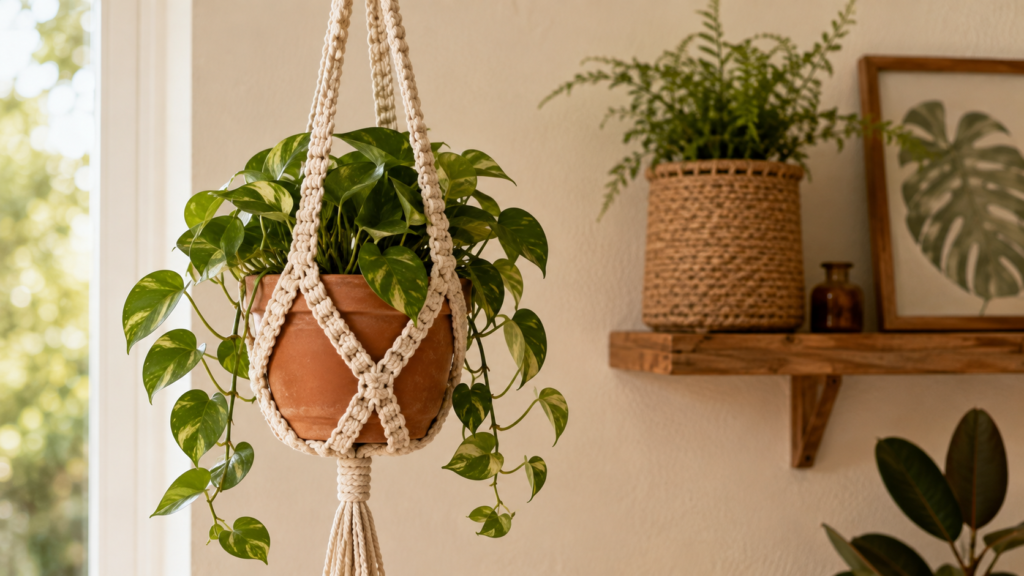
Near a bright window, a single hanger with a trailing plant like pothos or string of pearls makes the most of natural light without blocking it.
In a plant-heavy corner, stagger two or three hangers at different heights rather than clustering them at the same level — this creates the layered look most boho and Japandi spaces rely on.
In a small apartment, a hanger frees up floor and shelf space entirely, which matters more in tight rooms than almost any other styling choice.
Common Mistakes to Avoid
- Using yarn that’s too thin for the pot’s weight. A hanger that looks fine empty can stretch or snap once soil and water are added — always size your yarn to the pot, not just the look you want.
- Making all four straps different lengths. Even a small mismatch becomes obvious once the pot is hanging and tilts to one side.
- Hanging directly from drywall without proper anchoring. The pattern is sturdy, but the wall hardware needs to match — use a proper stud anchor or ceiling hook rated for the pot’s full watered weight.
- Choosing acrylic yarn for the straps. Acrylic stretches more under sustained weight than cotton, which can cause gradual sagging over months.
Maintenance Note: Check knots and stitching every few months, especially after watering, since damp cotton can shift slightly under weight. Hand wash the hanger only if needed — most dust and light dirt brush off dry.
Variations Worth Trying
- Open lattice version using double crochet and chain spaces for a more see-through, airy look
- Tiered hanger with two pots at different heights on one set of straps
- Beaded straps — threading wooden or clay beads onto the chains before knotting
- Tassel finish at the bottom knot for extra boho detail
FAQ
How much weight can a crochet plant hanger hold? A well-made cotton hanger using this pattern comfortably holds a small to medium pot with soil — generally up to 5 to 8 pounds. For heavier ceramic pots, size up your cord thickness.
What’s the best yarn for outdoor use? Look for outdoor-rated acrylic or nylon cord, since cotton can hold moisture and mildew if left outside long-term.
Can I make this without a top ring? Yes — knotting the straps directly together works fine and is actually the more traditional boho look.
How do I know what size to make the base? Measure the bottom diameter of your pot and add about 1 inch, which allows for a snug but removable fit.
Is this a good project for a first-time crocheter? The base and sides are beginner-friendly. The strap gathering step is easy but benefits from having made at least one or two other projects first.
There’s a quiet kind of satisfaction in a plant hanging exactly where you pictured it, made from something you shaped with your own hands.