Walk into most homes and the stairs get zero attention. Plain paint. Bare walls. Maybe a family photo that’s been crooked since 2019.
Meanwhile, this space sees more foot traffic than almost any other spot in your house.
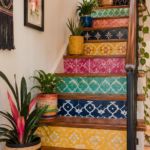
A colorful staircase turns a walk-through zone into a moment. Guests stop. Phones come out. It becomes the thing people mention when they leave.
And here’s the part nobody tells you: it’s one of the cheapest big-impact projects you can do. No new furniture. No renovation. Just paint, some styling smarts, and a weekend.
Let’s build yours.
What You’ll Need
- Painter’s tape
- Sample paint pots (2–3 colors to test)
- Interior paint in your chosen colors (satin or semi-gloss for risers, since they take a beating)
- Paint rollers and angled brushes
- Drop cloths
- Stair runner or removable stair treads (optional)
- Gallery frames (mixed sizes)
- Wall art or prints
- A few floating shelves
- Small plants or faux greenery
- LED string lights or a plug-in wall sconce
- Removable wallpaper (optional, for risers or a landing wall)
- Wood filler and sandpaper (if your stairs have dings)
Tools You’ll Need
- Hammer
- Level
- Stud finder
- Drill
- Tape measure
- Utility knife (for wallpaper or runners)
- Sanding block
Step-by-Step: How to Actually Do This
Step 1: Pick Your Color Approach
You’ve got three real options here.
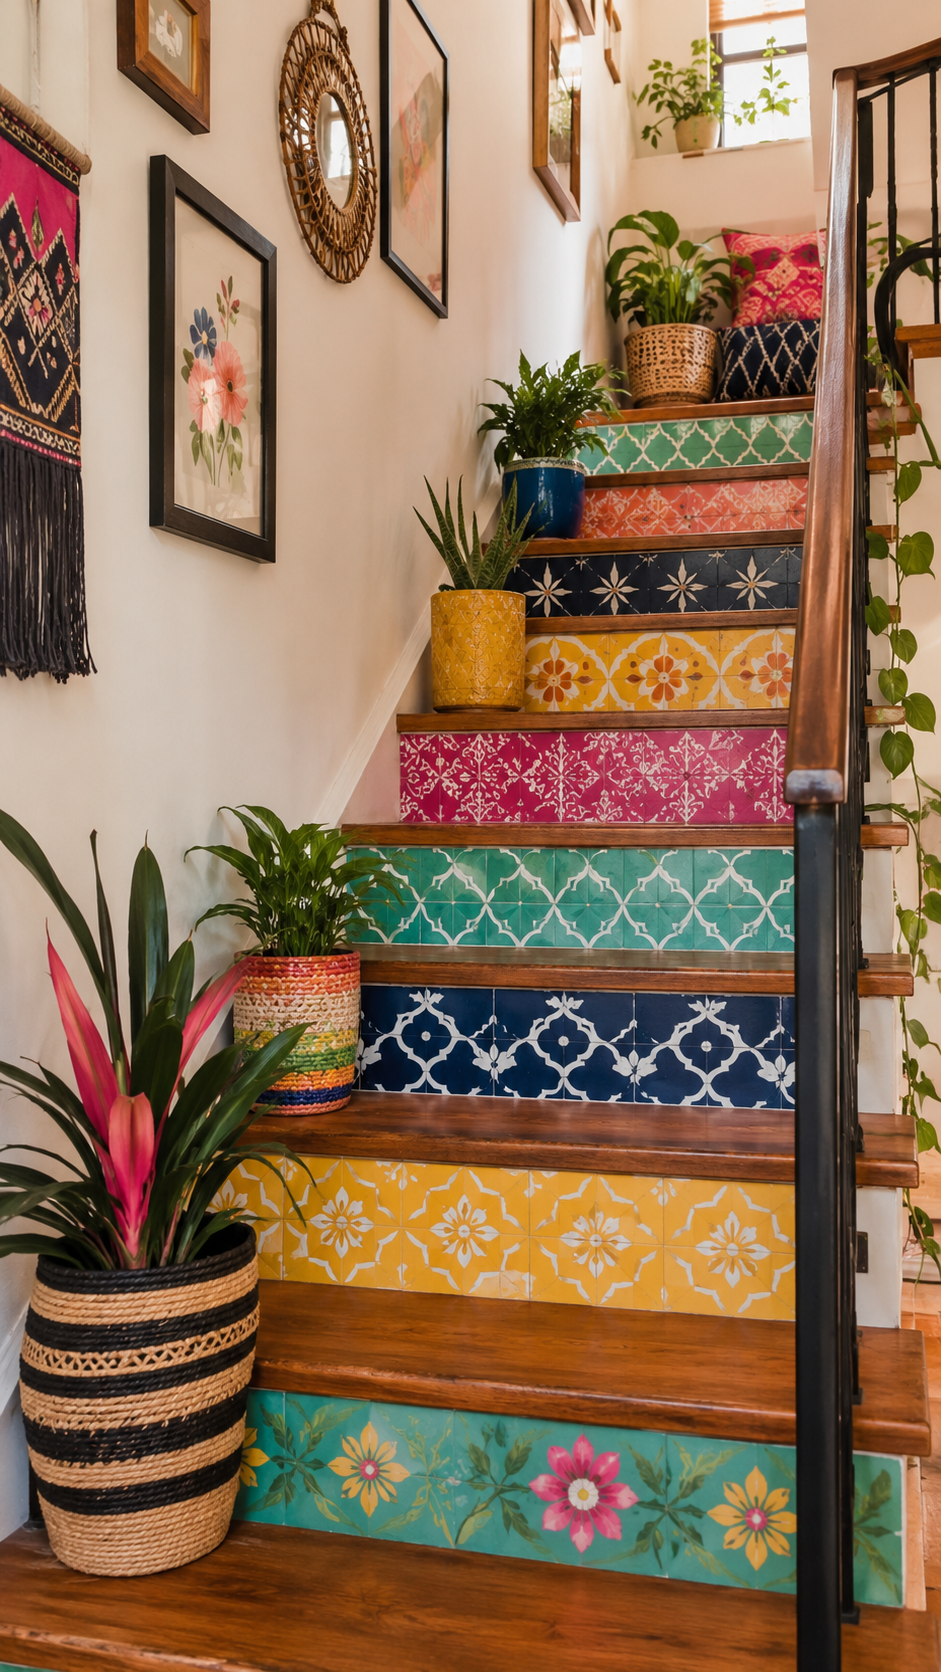
- Painted risers. Every stair has two parts, the tread (what you step on) and the riser (the vertical front). Paint just the risers in bold, varied, or ombre colors and leave the treads natural or neutral.
- Statement wall. Keep the stairs themselves simple, and let the wall running alongside them carry the color, wallpaper, or gallery wall.
- Both. For the brave. If you go here, keep one element loud and the other quiet so it doesn’t compete.
Step 2: Test Before You Commit
Paint sample pots directly onto two or three risers. Live with them for 48 hours in both daylight and lamp light.
Colors shift a lot on a staircase because you see them from odd angles constantly.
Step 3: Prep the Surface
- Sand down any rough spots or old paint chips
- Fill dings with wood filler and sand smooth once dry
- Wipe everything down, dust ruins a paint job faster than anything else
- Tape off treads, walls, and the underside of the staircase
Step 4: Paint the Risers
Work top to bottom so drips land on unfinished steps below, not ones you’ve already done.
Two thin coats beat one thick one. Thick paint pools, drips, and takes forever to cure.
Let each coat dry fully before the next. Rushing this step is the #1 reason DIY paint jobs look amateur.
Step 5: Style the Wall
This is where the personality really shows up.
- Build a gallery wall going up the stairs, staggered to follow the incline
- Add floating shelves at a few points to break up flat wall space
- Layer in small plants or trailing greenery for texture
- String warm LED lights along the banister or handrail for evening glow
Step 6: Add the Finishing Layer
A runner down the center of the treads pulls the whole look together and adds grip, which matters more than people think once the stairs get busy with kids or pets.
Pro Styling Tips
Odd numbers work better. Group art and shelves in threes and fives. Your eye reads it as intentional instead of random.
Go bold on risers, quiet on treads. Loud color under your feet all day gets tiring fast. Save the punch for the vertical parts.
Light from below changes everything. A single warm sconce at the base of the stairs makes the whole color scheme glow at night instead of disappearing.
Don’t skip the underside. The space beneath a staircase is often wasted. A coat of contrast paint or a small built-in bench instantly makes it feel finished.
Repeat one color three times. Whatever accent shade you pick, echo it in at least three spots (a frame, a plant pot, a light fixture) so the eye connects the whole space.
Substitutions and Variations
Renters or don’t want to paint? Removable wallpaper on the risers gives the same punch with zero commitment. Peel-and-stick stair decals work too, and most come off clean.
Tight budget? Skip new frames and use paint samples in picture-frame-sized swatches as art. Print free digital art at a copy shop for a few dollars each.
Small staircase? Stick to one bold color plus white. Too many colors in a tight stairwell reads busy instead of stylish.
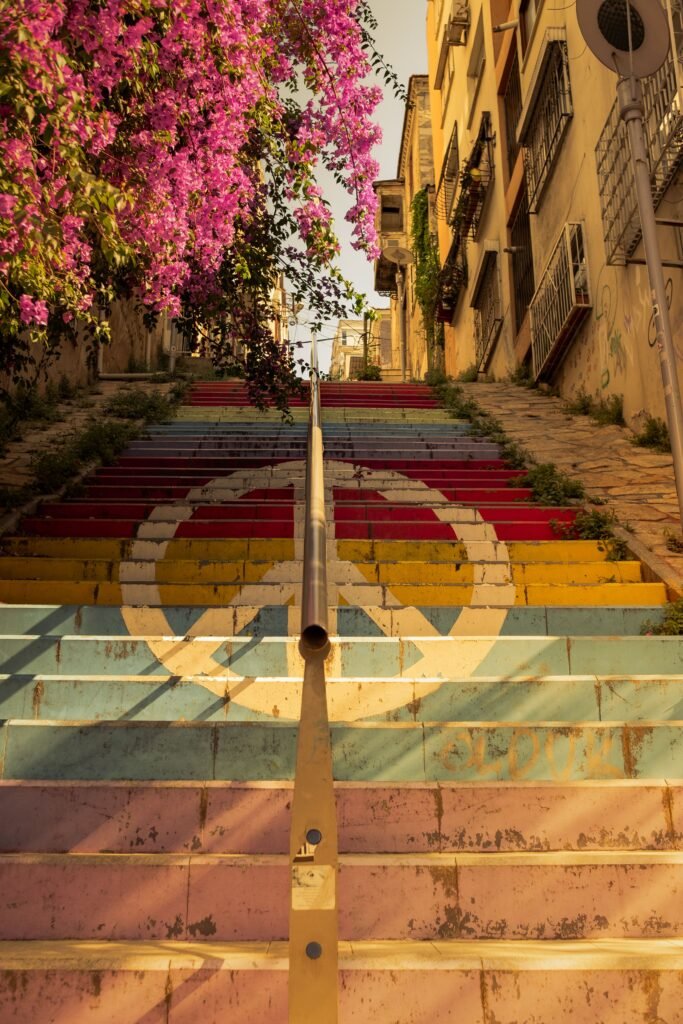
Wide, open staircase? This is your moment for an ombre effect, light at the top fading to deep at the bottom, or a rainbow gradient across each riser.
Style Variations by Aesthetic
| Style | Color Approach | Key Details |
|---|---|---|
| Boho | Terracotta, mustard, sage | Woven wall hangings, dried florals, layered rugs |
| Farmhouse | Sage green, cream, soft navy | Shiplap risers, wood shelves, black metal frames |
| Minimalist | Single bold color + white | Clean lines, one large art piece, no clutter |
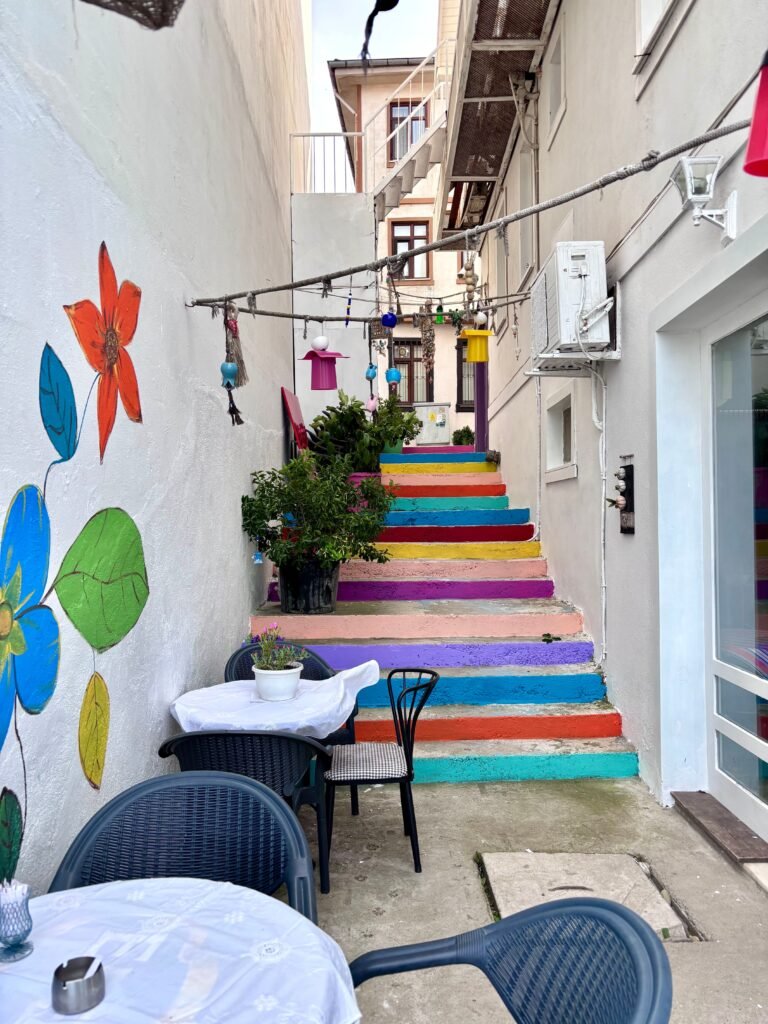
| Maximalist | Rainbow ombre or clashing brights | Gallery wall, patterned runner, mixed frame styles |
| Coastal | Ocean blue, sandy beige, white | Rope details, driftwood shelf, woven textures |
Budget Breakdown
- Under $150: Paint samples, DIY frames, free printable art, no runner
- $150–$400: Full paint job, mid-range runner, a handful of framed prints, LED lights
- $400+: Removable wallpaper, custom art, floating shelves, professional-grade runner
Make Ahead / Prep Tips
- Order your runner or wallpaper at least two weeks out, shipping delays are common on these
- Measure every step individually before ordering a runner, stairs are rarely perfectly uniform
- Test paint swatches at least a few days before your painting weekend so you’re not rushing the decision
- Pick your gallery wall pieces and lay them out on the floor first to plan spacing before anything goes on the wall
Room Pairing Suggestions
A colorful staircase looks strongest when it connects visually to the room at the top or bottom of it.
Pull one accent color from your stairs into a throw pillow, a vase, or a piece of art in the adjoining living room or hallway. It stops the color from feeling like an isolated project and makes it feel like part of the whole house.
Maintenance and Upkeep
- Wipe risers down monthly with a damp cloth, stairs collect dust and shoe scuff fast
- Touch up paint chips as soon as you spot them, before they spread
- Vacuum runners weekly if you have pets or kids
- Reposition art or plants every few months to keep the space feeling fresh without spending anything
FAQ
Will painted stairs hold up to daily foot traffic? Risers hold up fine since feet don’t touch them. If you paint treads too, use a durable floor-rated paint and add a clear polyurethane topcoat.
Do I need to prime before painting risers? Yes, especially over stained or glossy wood. Primer helps the color stay true and stops peeling down the line.
How long does a project like this take? A weekend for painting alone. Add a day or two if you’re building out a full gallery wall and adding a runner.
Can I do this in a rental? Yes. Stick to removable wallpaper, peel-and-stick decals, and command strips for art instead of nails or paint.
What if my stairs curve or have an odd layout? Everything here still works. Just measure each riser individually since curved stairs are rarely uniform in width.
Wrapping Up
A staircase doesn’t have to be the part of your home nobody notices. A little color, a bit of styling, and a free weekend turn it into the space people actually stop and look at.
Start small if you need to. Even three painted risers make a difference.
Have you tried a colorful staircase in your own home? Tell me what colors you went with, I’d love to hear how it turned out.