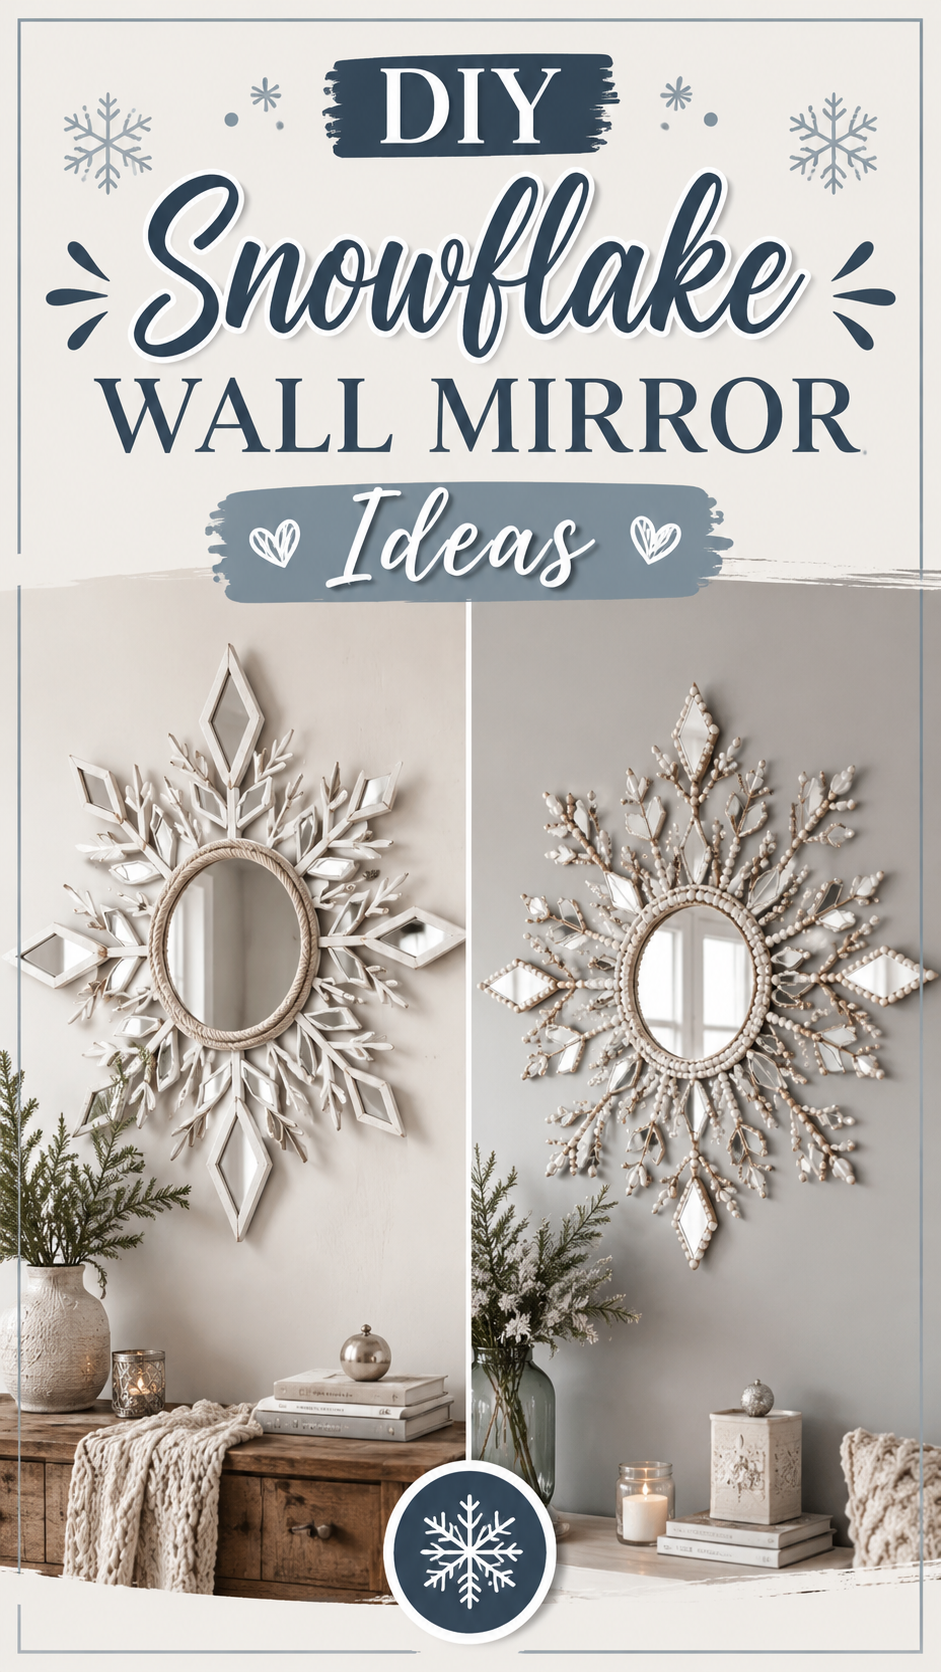
Snowflake mirrors sit in that rare sweet spot between craft project and genuine design statement. Done well, they read less like a holiday decoration and more like a piece you’d find in a boutique Scandinavian home store.
This guide walks through real, buildable versions of the trend — not just the Pinterest photo, but the plywood, the mirror glass, the glue, and the exact spots in a home where this shape actually earns its place on the wall.
Why Snowflake Mirrors Work As Design, Not Just Decoration
A snowflake is a radial shape. Radial shapes pull the eye to a center point, which is exactly what a mirror wants to do anyway.
That’s the quiet reason this trend has staying power beyond winter. The geometry does double duty: it catches light like a starburst mirror, and it reads as organic rather than kitschy when the proportions are right.
Three things separate a snowflake mirror that looks intentional from one that looks like a craft-fair leftover:
- Scale. A snowflake under 20 inches often looks like a Christmas ornament. Past 28–30 inches, it starts behaving like real wall art.
- Material honesty. Painted wood, brushed metal, or unfinished rattan all work. Glitter and plastic rarely do, outside of a kid’s room.
- Restraint on the points. Six to eight arms is the visual limit for most rooms. More than that, and the shape stops reading as a snowflake and starts reading as noise.
Colour Palette
Snowflake mirrors are usually a frame around a reflective center, so the palette conversation is really about the frame, the wall behind it, and the room’s undertone.
| Style Direction | Frame Colour | Wall Pairing | Best Room Mood |
|---|---|---|---|
| Scandinavian | Whitewashed oak or bleached pine | Off-white, warm greige | Calm, airy |
| Japandi | Matte black or dark walnut | Warm white, clay | Grounded, quiet |
| Farmhouse | Distressed white or antique brass | Soft sage, cream | Cozy, lived-in |
| Modern Luxury | Brushed gold or champagne metal | Charcoal, deep navy | Dramatic, elevated |
| Boho | Natural rattan or unfinished wood | Terracotta, warm white | Textured, relaxed |
A mistake worth flagging early: pairing a silver-toned mirror frame with warm gold hardware elsewhere in the room. Metals don’t need to match exactly, but a room with three competing metal tones starts to feel unplanned rather than eclectic.
Materials and Furniture Pairings
The mirror itself is only half the project. What sits below or around it decides whether the piece feels finished.
Core materials for the DIY build:
- 1/2-inch plywood or MDF for the star-shaped backing
- Mirror glass cut to size, or adhesive mirror tiles for a budget build
- Wood glue and construction adhesive rated for mirror backing
- Sandpaper (120 and 220 grit)
- Paint, wood stain, or metallic wax finish
- A jigsaw for cutting the star pattern
Furniture that suits a snowflake mirror nearby:
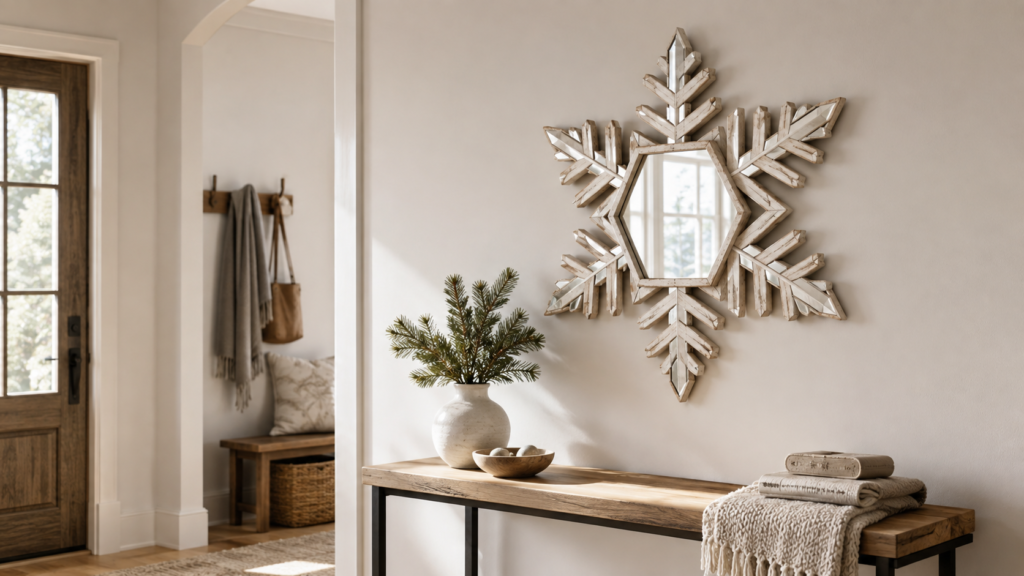
- A console table with turned or tapered legs, which echoes the mirror’s radial lines without competing
- An entryway bench in raw wood, letting the mirror carry the visual weight
- A single accent chair angled toward the mirror in a reading nook, so the reflection extends the room
Avoid placing a snowflake mirror above furniture with heavy carved detailing. Two ornate elements in one sightline fight for attention.
Lighting
Mirrors are only as good as the light hitting them, and snowflake shapes are especially light-hungry because of all the negative space between the points.
When it works best:
- Positioned opposite or perpendicular to a window, so it bounces daylight across the room
- Paired with a single warm-toned sconce on either side, rather than overhead lighting, which flattens the carved detail
- Lit with a picture light mounted just above the frame for evening ambiance
When it falls flat:
- Placed on a wall with no natural or ambient light source nearby, where the shape disappears into shadow by early evening
- Lit only by a harsh overhead fixture, which erases the dimensional cuts in the wood
A dimmer switch on nearby lighting is a small addition that changes the mirror’s presence dramatically between daytime and evening use.
Layout and Placement Tips
Where a snowflake mirror goes matters more than the mirror itself.
- Entryways — A 24–30 inch snowflake mirror above a console table gives arriving guests a functional last-look mirror with visual interest.
- Above a fireplace — Works only if the mantel is otherwise simple. A busy mantel plus a busy mirror shape overwhelms the wall.
- Staircase landings — The radial shape reads well from an angle, which is often how it’s seen from below or from a turn in the stairs.
- Powder rooms — A smaller version (16–20 inches) suits the tighter sightlines of a half bath without dominating the space.
For hanging height, keep the mirror’s center around 57–60 inches from the floor — roughly eye level for most adults — unless it’s going above furniture, in which case leave 6–8 inches of breathing room between the furniture top and the mirror’s lowest point.
Common Styling Mistakes
- Hanging it too high. A snowflake mirror mounted near the ceiling loses its role as a functional mirror and starts looking stranded.
- Skipping the sanding step. Raw jigsaw cuts leave visible splintering at the star points, which reads as unfinished up close.
- Using standard glass instead of mirror-rated adhesive. Regular craft glue can fog or lift mirror backing over time, especially in humid rooms like bathrooms.
- Overcrowding the surrounding wall. A snowflake shape already has a lot of visual movement. Surrounding it with gallery frames usually competes rather than complements.
- Choosing a finish that clashes with the room’s existing wood tones. A cool-toned whitewash next to warm oak flooring can look mismatched rather than layered.
Budget-Friendly Options
- Adhesive mirror tiles on a plywood star cutout — roughly $25–40 in materials, and a manageable weekend project even for a first-time DIYer.
- Secondhand mirror frame reshaped with wood trim points added around the edge — turns a plain round or oval mirror into a starburst-adjacent shape for under $30.
- Paper or thin wood veneer snowflake frame around an existing small mirror — a lightweight, low-cost option suited to rentals, since it avoids drilling for a heavy new piece.
Luxury Alternatives
For a higher-end version of the same idea:
- Custom-cut brass or antiqued gold mirror frame from a metalworker, sized 32–40 inches for a genuine statement wall
- Hand-carved wood snowflake frame in walnut or ebonized oak, finished with a matte wax rather than gloss lacquer
- Beveled mirror glass instead of standard flat glass, which adds a soft light-catching edge along each point
The jump from budget to luxury is mostly about material weight and finish quality — a hand-carved edge and a laser-cut edge look different even at the same size.
Small Space Ideas
In compact entryways or small bathrooms, an oversized snowflake mirror can feel heavy. A few adjustments help:
- Choose a six-point star rather than eight — fewer arms mean less visual clutter in a tight sightline.
- Keep the frame thin, under 2 inches wide, so the piece reads as light rather than bulky.
- Use a lighter wood tone or a pale painted finish, which recedes visually compared to dark stains.
- Consider a mirror with a slightly convex center, which can make a small room feel marginally more open by widening the reflected view.
DIY Improvement Ideas
Once the base mirror is built, small upgrades change the finished look:
- Add a subtle metallic edge with a paint pen along the star points for extra light-catching detail.
- Layer two frame sizes, mounting a smaller unfinished wood star slightly offset behind a painted one, for added depth.
- Swap flat mirror glass for antiqued mirror glass, which gives the reflection a softer, slightly aged quality that suits farmhouse and vintage-leaning rooms.
- Backlight the frame with a thin LED strip mounted behind the plywood base, so the star’s silhouette glows softly against the wall after dark.
FAQ
How big should a DIY snowflake mirror be for an entryway? Somewhere between 24 and 30 inches works for most entryways, giving enough presence above a console table without overwhelming the space.
Can I make this without a jigsaw? Yes. Pre-cut wooden star shapes or wall decor blanks are available at most craft stores, which skips the cutting step entirely and still leaves the sanding, staining, and mirror-attaching for a genuinely handmade result.
Is this project safe for a bathroom? It can be, provided the mirror glass and adhesive are both rated for humidity. Standard craft glue tends to break down in steamy conditions over time.
What’s the easiest style to start with for a first-timer? A simple six-point star in whitewashed or raw wood is the most forgiving version — fewer points mean fewer cutting angles to get right, and a light finish hides minor imperfections better than a dark stain does.
How do I keep the piece from looking too much like a Christmas decoration? Stick to a neutral or metallic finish rather than white-and-silver glitter combinations, and size it closer to real wall art (24 inches or larger) rather than ornament scale.
Conclusion
A snowflake mirror earns its spot on a wall through proportion, finish, and placement — not through the shape alone. Built at the right scale, finished with care, and hung where light can actually reach it, this project moves well past its seasonal reputation and into genuine year-round design.