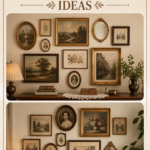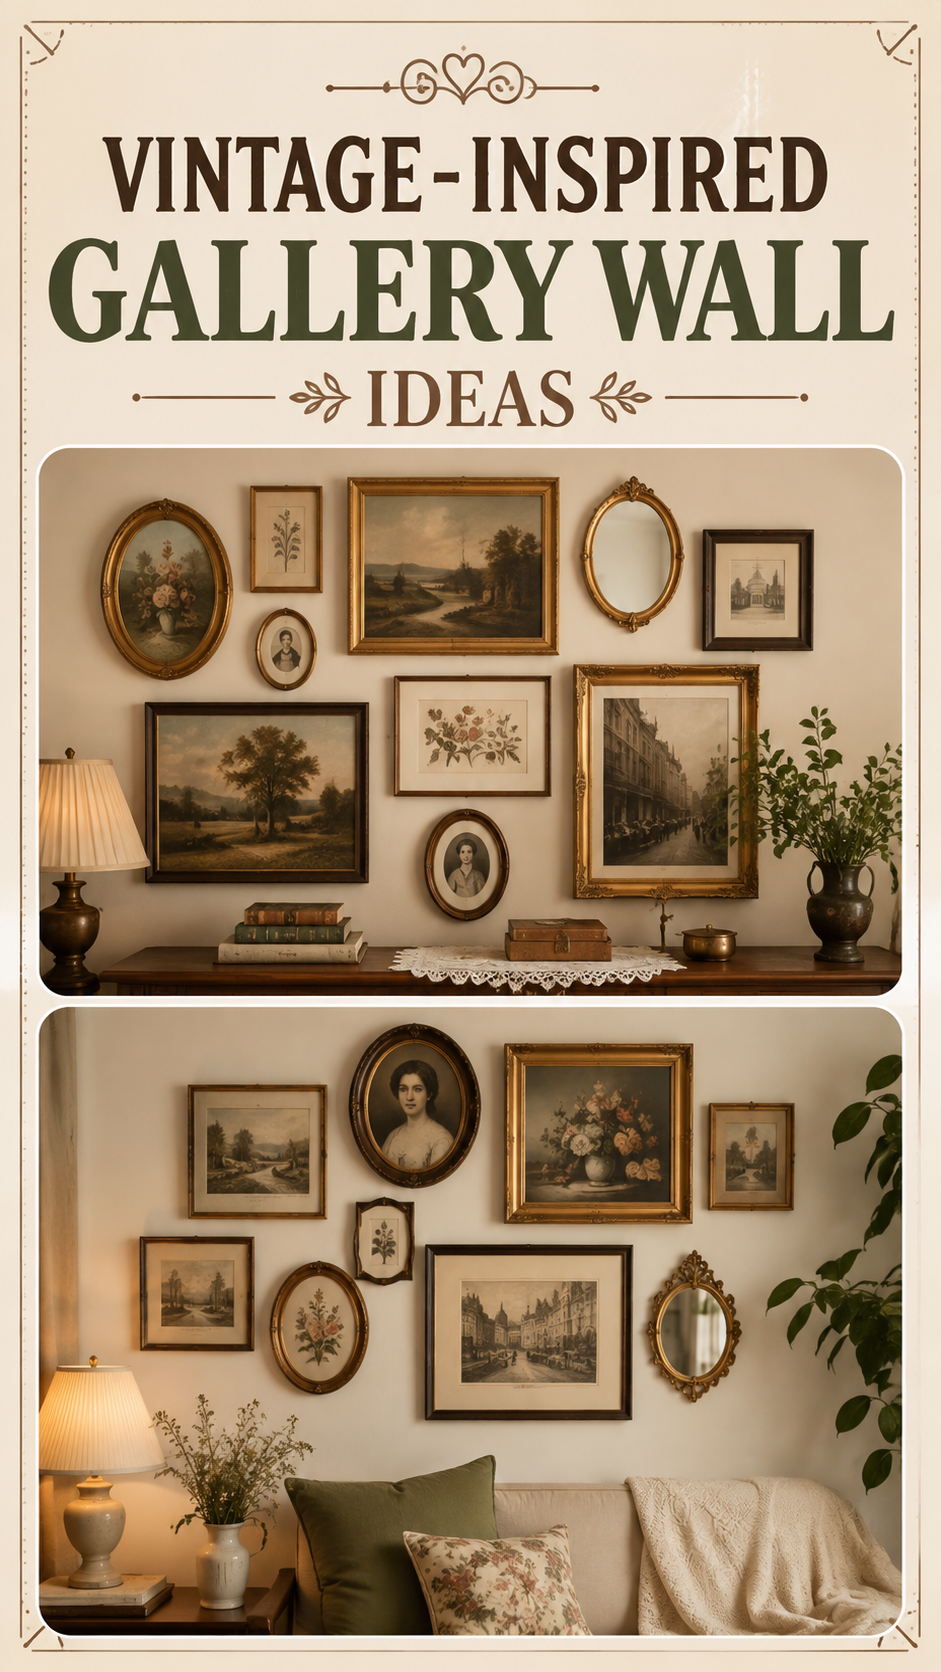
There’s a specific kind of magic in a gallery wall built from things nobody else has. Not a matching art set from a big-box store. Not a print you can screenshot and buy in three clicks. A wall made from flea market frames, a grandmother’s landscape painting, and a mirror you found wedged behind a dresser at an estate sale.
This is the sourcing-first approach to vintage gallery walls. The goal isn’t a single perfect piece — it’s a collection built slowly, with each frame carrying its own history into your home.
If you’ve ever stood in a thrift store holding three mismatched frames and wondered whether they could ever work together, this guide is for you.
Why This Style Works
A thrifted gallery wall works because it looks collected, not curated. Real vintage pieces carry texture that new reproductions can’t fake — foxed mirror glass, hand-carved wood grain, brass hardware gone slightly matte with age.
There’s also a practical case for it. Original art and antique frames are, in most markets, cheaper than a matching set of new frames from a retailer. You’re paying for character, not manufacturing.
Designer Note: The best thrifted gallery walls are assembled over months, not in one shopping trip. Buy pieces you love individually, then figure out the arrangement once you have options in hand.
Colour Palette
Thrifted pieces come in whatever colours they come in, so palette control happens through your mat boards, wall paint, and frame finishes rather than the art itself.
A simple ratio to work from:
| Element | Share of Wall | Purpose |
|---|---|---|
| Warm wood-tone frames | 40% | Grounds the wall, reads as “collected over time” |
| Gold or brass frames | 25% | Adds shine without looking new |
| Painted or black frames | 20% | Breaks up the wood so it doesn’t feel monochrome |
| Mirror or unframed object | 15% | Adds depth and light |
Stick to a two-undertone rule: pick either warm (gold, brass, honey wood) or cool (silver, pewter, grey-washed wood) as your dominant undertone, then let the second undertone show up in just one or two pieces. This is what keeps a mismatched collection from looking chaotic.
Quick Win: If a frame’s finish feels wrong for your palette, a coat of chalk paint or gold leaf pen changes it in under an hour — no need to pass on a great frame shape over the wrong colour.
Sourcing: Where to Actually Find These Pieces
Estate sales are the strongest source for genuinely old frames, since they often include the original art still inside. Arrive early for the best selection, but return in the final hours for the steepest markdowns.
Flea markets and antique malls are good for volume — you can compare a dozen frame styles in one visit and build out your collection faster than sale-hopping.
Thrift stores are the least predictable but the cheapest, and worth a weekly pass if one is nearby. Frames get donated constantly, so inventory turns over fast.
Online marketplaces fill in specific gaps — if you need one more oval frame in a particular size, a local listing site will usually turn one up within a week or two.
Mixing Frame Eras Without It Looking Random
The trick to combining a Victorian oval frame, a 1970s sunburst mirror, and a plain wooden frame from the 1950s is consistency somewhere else in the arrangement.
Consistency can live in one of three places:
- Colour — every frame in gold or wood tones, regardless of era
- Subject — every piece is a landscape, portrait, or botanical
- Scale — every frame within a similar size range, so era differences read as texture rather than clutter
Pick one of these three as your anchor. Trying to control all three at once usually makes a wall feel stiff rather than collected.
Layout Tips
Lay every piece out on the floor first, in the actual arrangement you’re considering, before a single nail goes into the wall. This is standard advice for a reason — it’s the only way to catch spacing problems before they’re permanent.
Start with your largest or most important piece and build outward from it, rather than starting in a corner and hoping it balances out by the time you reach the other side.
Keep spacing between frames consistent — 2 to 4 inches works for most groupings. Tighter spacing reads as intentional; wildly varied gaps read as unplanned.
For a staircase or hallway, follow the slope of the stairs with your top edges rather than trying to keep every frame level with the floor. It looks more natural and is easier to execute with mismatched frame heights.
Small Space Adaptations
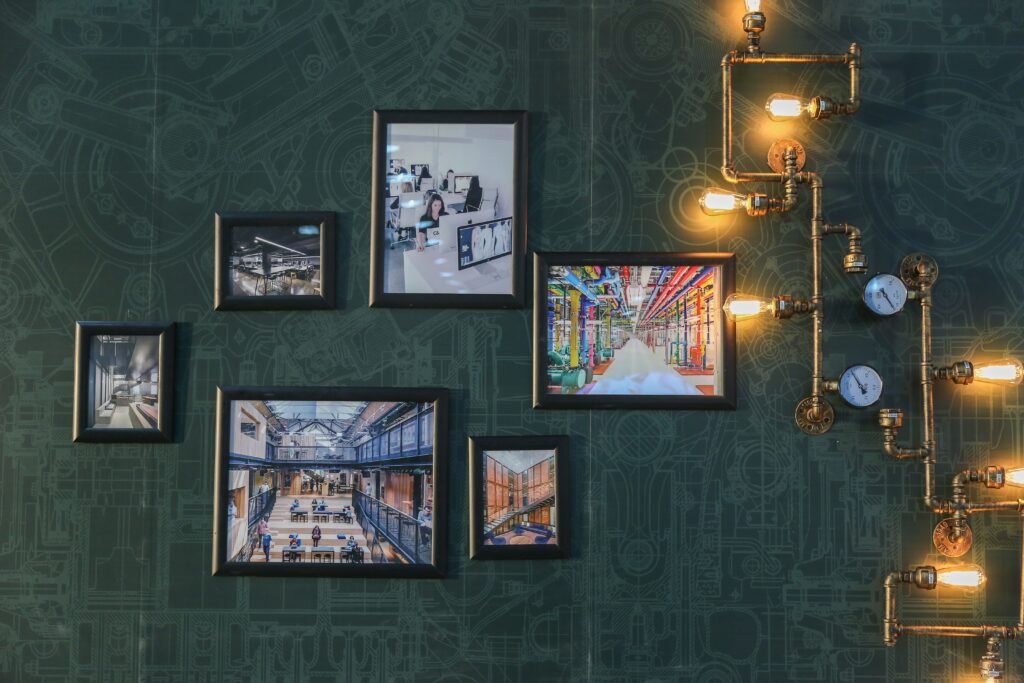
A single narrow wall — beside a doorway, above a console table — can hold three to five smaller vintage pieces in a tight vertical column and still read as a full gallery wall.
For rooms where wall space is scarce, a plate rail lets you lean frames rather than hang them, which means you can rotate pieces in and out as you keep thrifting without patching new holes each time.
Corner spaces, often ignored, work well for two frames turned slightly toward each other — it adds dimension in a spot that would otherwise sit empty.
Budget vs. Luxury
| Budget Approach | Luxury Approach | |
|---|---|---|
| Frames | Thrifted, mixed sources, $2–15 each | Antique dealer or auction pieces, $50–300+ |
| Art | Estate sale originals, flea market prints | Signed originals, documented provenance |
| Mats | DIY cut from craft store mat board | Custom conservation matting |
| Glass | Standard glass, cleaned and reused | UV-protective museum glass |
| Hanging hardware | Existing hooks, sawtooth hangers | Professional installation with French cleats |
| Total for a 9-piece wall | $60–150 | $800–2,500+ |
Both routes land on the same visual outcome. The difference is provenance and protection, not appearance.
Styling Mistakes to Avoid
Buying frames without checking the art’s condition first is a common regret — foxing, tears, or water damage are sometimes part of the charm, but sometimes they’re a piece falling apart, so inspect before you commit.
Matching every frame too closely defeats the purpose. A wall of six near-identical gold ovals looks like a set, not a collection — vary the shapes and sizes.
Skipping the floor layout is the single most common cause of a lopsided wall. Even five minutes of arranging on the ground first prevents most spacing regrets.
Ignoring scale relative to the furniture below is another frequent miss — a gallery wall over a narrow console shouldn’t sprawl wider than the furniture beneath it.
DIY Improvements
Re-matting a thrifted frame in a fresh, uniform mat colour instantly modernizes an otherwise dated piece, while keeping the frame’s original character intact.
Swapping out cloudy or scratched glass is a low-cost fix that dramatically improves how a vintage piece photographs and reads from across the room.
For frames with structural damage, wood glue and clamps handle most loose joints in an afternoon — no specialty tools required.
Adding a coat of matte spray paint to a frame with a finish that clashes is often faster and cheaper than continuing to search for the “right” one.
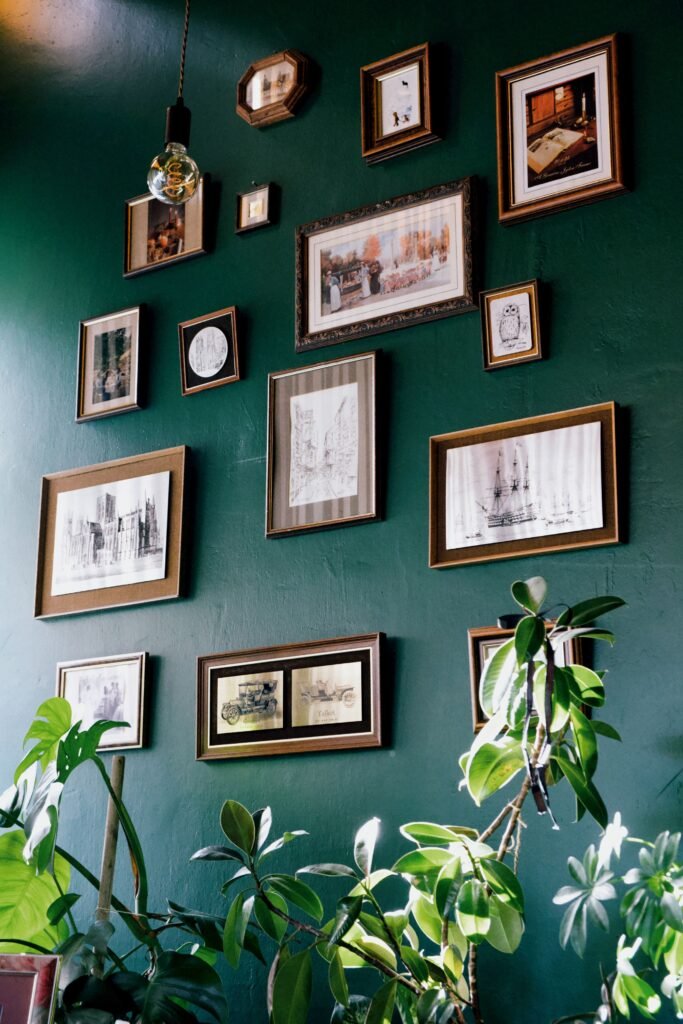
Style Variations
Botanical-only walls lean into pressed flower prints and antique garden illustrations for a softer, cottage feel.
Portrait walls built from anonymous vintage photographs — the kind found loose in shoeboxes at estate sales — create a sense of inherited history, even in a home with no family connection to the images.
Mirror-heavy walls substitute several vintage mirrors for artwork, which works especially well in darker rooms since they bounce available light around the space.
FAQ
How many pieces do I need to start a gallery wall? Five to seven is enough to read as a gallery wall rather than a scattered few frames. You can always add more as you keep sourcing.
Should I buy frames without the art still in them? Yes, if the frame itself is the reason you want it. Empty vintage frames are common finds and can be filled with new prints, mirrors, or fabric.
How do I know if a piece is actually valuable or just old? Age alone doesn’t equal value. If you suspect a piece might be worth more than décor, a quick photo search or a local appraiser visit is worth it before you rehang it in a busy hallway.
Can I mix real vintage pieces with new reproductions? Yes — most successful thrifted walls include at least one or two new pieces to fill gaps in size or subject that thrifting hasn’t turned up yet.
A gallery wall built this way never really finishes. It just keeps collecting.