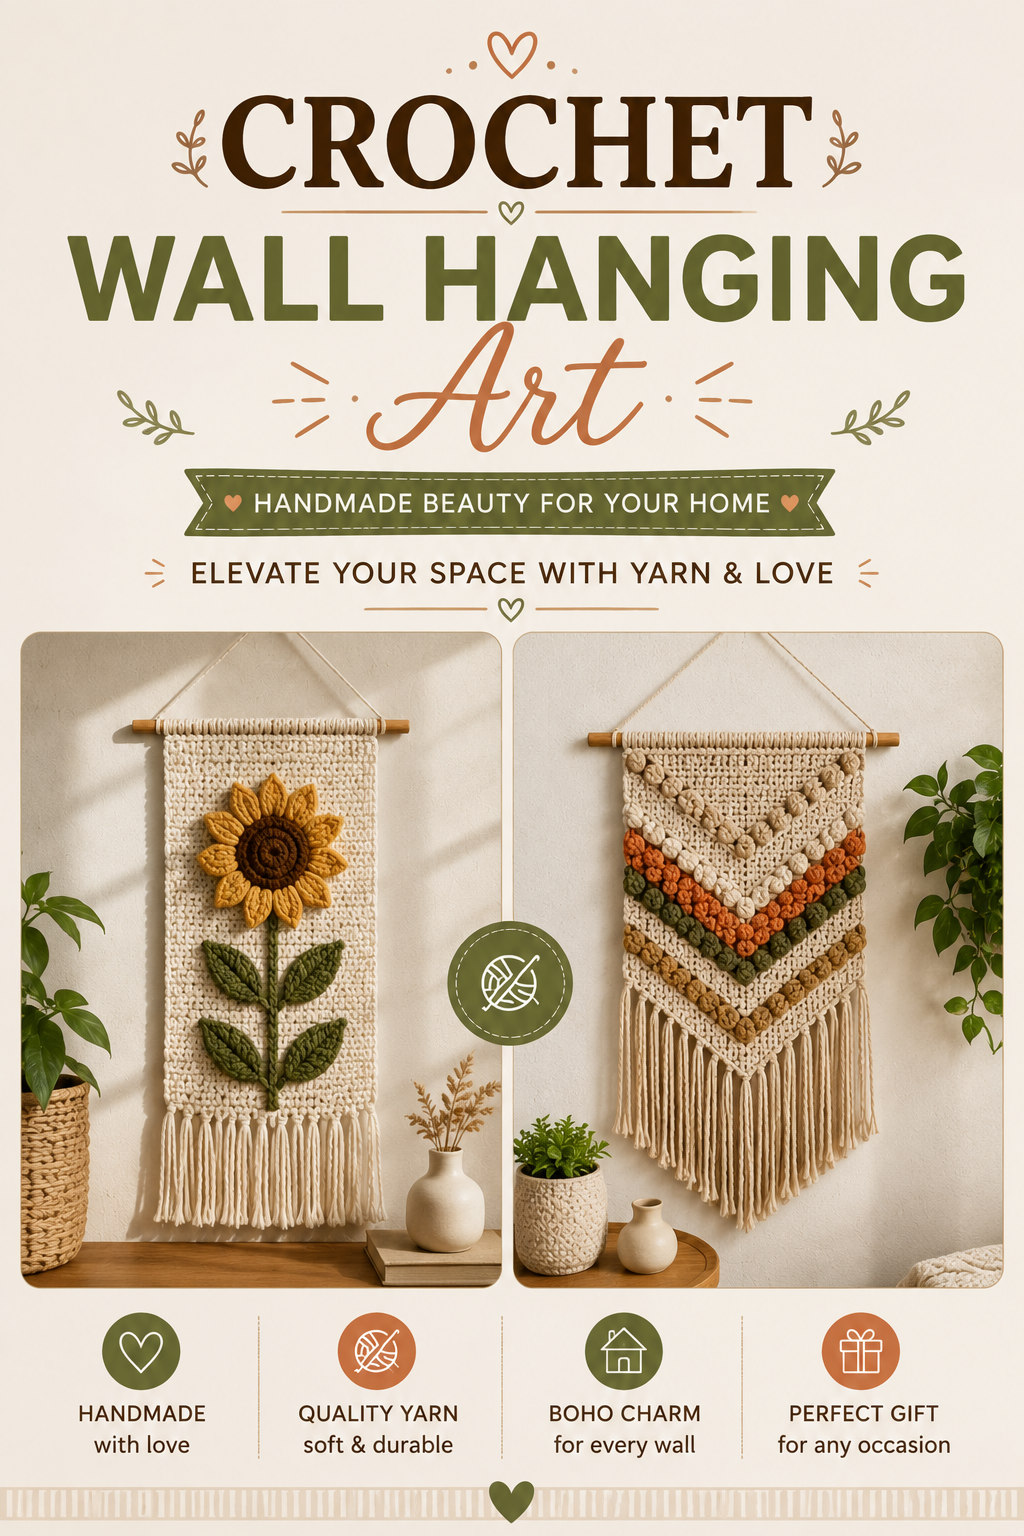
Blank walls are one of the easiest things to fix in a home, and one of the easiest to overspend on. A crochet wall hanging solves both problems at once — it fills the space with texture and costs a fraction of a framed art piece.
This pattern creates a simple geometric wall hanging using basic rows and a driftwood or dowel mount, designed to work in almost any room without needing advanced crochet skills.
Why This DIY Works
Textile wall art does something flat art can’t — it changes with the light. Shadows shift across the stitches throughout the day, giving a single piece more visual life than a printed poster or canvas.
A handmade hanging also fills wall space without competing with existing decor. Because it relies on texture and shape rather than color or imagery, it layers easily with photos, mirrors, or shelving already on the wall.
It’s a lower-commitment way to try a new interior style. A full room makeover in a new aesthetic is a big undertaking. A single wall hanging in that style is a low-risk way to test whether boho, Scandinavian, or Japandi textures actually suit your space before committing further.
Designer Note: Hang the piece slightly off-center from the true middle of a wall, particularly above furniture. Dead-center placement often looks static — a few inches to one side, aligned instead with a nearby piece of furniture, feels more considered.
Materials & Tools
| Item | Purpose | Notes |
|---|---|---|
| Worsted weight cotton yarn | Main hanging body | Cotton drapes cleanly and holds a crisp stitch definition |
| 5mm crochet hook | Standard hook for this weight | Adjust for your tension |
| Wooden dowel or driftwood branch | Top mount | 12–16 inches long works for most wall hangings |
| Tapestry needle | Weaving in ends and attaching to the dowel | — |
| Scissors | Trimming and fringe | — |
| Picture hanging hook or small nail | Wall mounting | — |
Quick Win: A plain wooden dowel from a hardware store works just as well as a specialty craft store branch — sand the ends lightly if needed, but no finish is required for a natural, raw-wood look.
Key Stitches You’ll Need
- Chain stitch (ch) — foundation row and fringe
- Single crochet (sc) — dense rows for the top section
- Double crochet (dc) — taller, airier rows for texture contrast
- Chain space / filet pattern — optional open sections for a lacier look
Step-by-Step Pattern
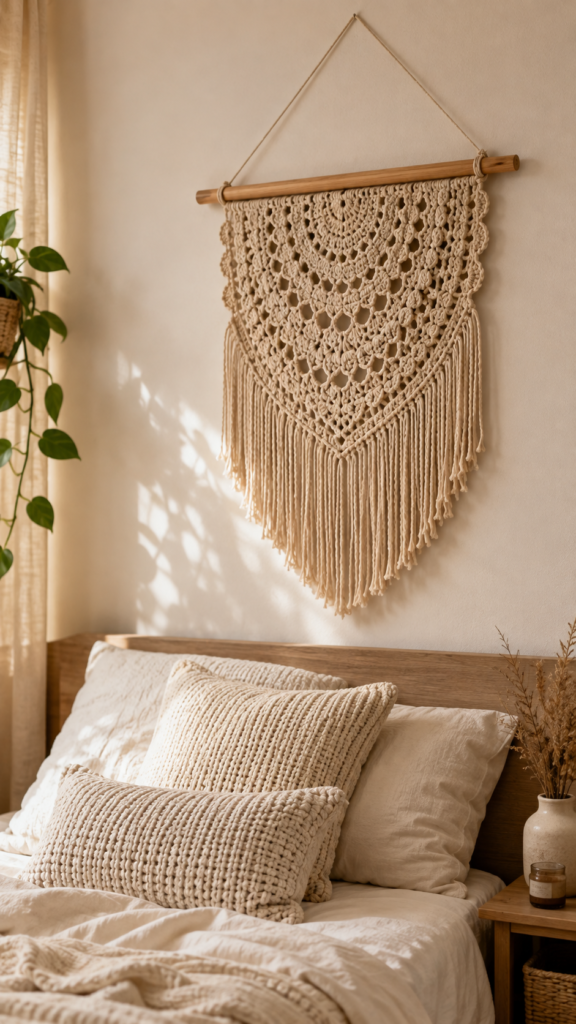
This pattern makes a rectangular hanging roughly 10 inches wide and 16 inches long including fringe, sized to mount on a 12-inch dowel.
Part 1: The Foundation Row
- Chain 24. This becomes your base width — for a wider or narrower piece, adjust in multiples of 2.
- Row 1: Single crochet into the second chain from the hook and each chain across. Turn. (23 stitches)
Part 2: The Textured Body
- Rows 2–5: Single crochet across each row, turning at the end of every row. This creates a dense, solid top section.
- Rows 6–10: Switch to double crochet across each row for a taller, looser texture — this section will catch light differently from the dense top.
- Rows 11–14: Return to single crochet for a final dense band before the fringe.
This alternating pattern of dense and open rows is what gives the piece its visual rhythm — feel free to repeat the sequence for a taller hanging.
Part 3: Attaching to the Dowel
- Fold the top edge of the finished piece over the dowel.
- Using the tapestry needle, stitch the folded edge down along the back, securing it firmly to the dowel every inch or so.
- Center the fabric so equal amounts of dowel show on either side.
Part 4: The Fringe
- Cut yarn into lengths roughly twice the desired fringe length plus 2 inches for the knot.
- Fold each length in half, pull the folded loop through a stitch along the bottom edge, and pull the ends through the loop to knot it in place.
- Repeat evenly across the bottom row.
- Once all fringe is attached, trim the ends to an even length using scissors.
Finishing
Attach a length of yarn or cord to each end of the dowel to create the hanging loop, then mount on your wall hook.
Budget vs. Luxury Materials
| Budget Version | Luxury Version | |
|---|---|---|
| Yarn | Basic acrylic worsted weight | 100% cotton or a cotton-linen blend |
| Mount | Plain wooden dowel | Natural driftwood branch or brass rod |
| Fringe | Single color, trimmed straight | Mixed-length fringe in two or three tonal shades |
| Approx. cost per piece | Under $10 | $25–35 |
The mount is where the biggest visual upgrade happens — swapping a plain dowel for driftwood instantly shifts the piece toward a more organic, higher-end look without changing the crochet work at all.
How to Style It in Your Home
Above a bed, a single wide hanging centered slightly above the headboard adds texture without needing a full gallery wall.
In a reading nook, a smaller, narrower version pairs well with a floor lamp and a single chair for a cozy, layered corner.
Alongside framed art, a hanging works best when it’s the only textured piece in the grouping — let flat frames and photos be the contrast.
Common Mistakes to Avoid
- Making the piece too wide for its dowel. Leave at least half an inch of bare dowel on each side so the fabric doesn’t bunch at the edges.
- Cutting fringe before it’s attached. Always attach fringe first, then trim evenly at the end — cutting individual lengths in advance almost never comes out level.
- Ignoring wall scale. A small 10-inch hanging on a large blank wall can look lost — size the piece to at least a third of the visible wall space it’s filling.
- Skipping a tension check before starting. Since this pattern relies on row height changes for texture, uneven tension between single and double crochet sections can distort the shape.
Maintenance Note: Dust gently with a soft brush every few weeks. If the piece needs a deeper clean, hand wash flat and lay it out to dry completely before rehanging, since a damp piece can stretch under its own weight if hung too early.
Variations Worth Trying
- Mandala-style circular hanging for a rounder, more classic boho look
- Two-tone color blocking instead of texture rows, switching yarn color at set intervals
- Woven accent strip — weaving a contrasting ribbon or cord through one open row for added color
- Beaded fringe — threading wooden beads onto a few fringe strands for extra detail
FAQ
How much yarn does one wall hanging use? This size typically uses 250 to 350 yards, depending on fringe length and row count.
Can I make this without double crochet? Yes — an all-single-crochet version still works well, though it will read as denser and less airy overall.
What’s the best way to attach fringe evenly? Mark evenly spaced points along the bottom row with a fabric pen or pins before attaching, rather than eyeballing spacing as you go.
Do I need special hardware to hang it? No — a standard picture hook or small nail is usually enough, since crochet pieces are lightweight even with a dowel mount.
Can this pattern be scaled up for a larger statement piece? Yes — increase the foundation chain and repeat the row sequence more times, but expect yarn needs to increase significantly with size.
There’s something quietly satisfying about a blank wall filled with something you made row by row, instead of something pulled off a shelf.